What does that mean?
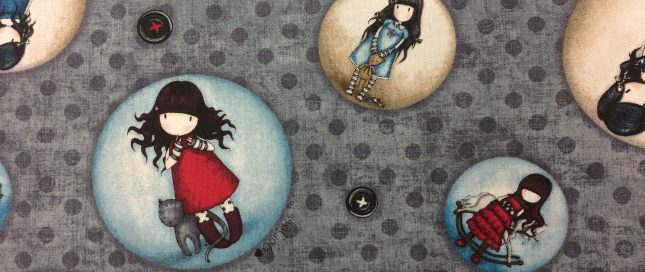
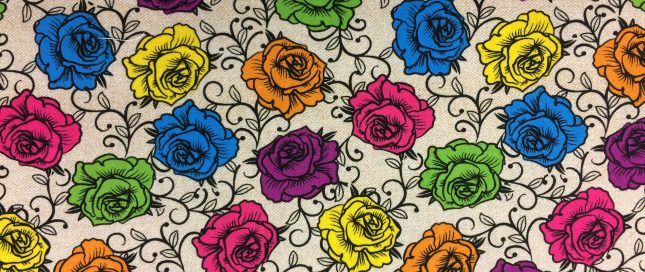
Following on from last week’s post about the new range of fabrics, I naturally thought of making something. So I picked up a pattern and realised that I hadn’t a clue. So I decided to grab a coffee and I would then rack Charlene’s brains on your behalf to talk about patterns and what all those abbreviations actually mean. You can thank me later!
During our chat it transpired that both of us know of these abbreviations but we had both learnt different terms for the same things. For sewing Charlene calls it basting and I call it tacking – same thing different ways of looking at it. So in this post we thought it would be beneficial to all of us to go through these abbreviations and terms and hopefully straighten a few things out.
So lets talk shorthand and the confusion it can throw up. And it is the same for all types of pattern – knitting, crocheting, sewing and then you can throw the Americans way of doing things into the mix and it can quickly become complete nonsense. Very daunting if you are a newbie. Now I learnt to home craft the way most people do – at their mother’s knee. Some of you out there could be self taught either. It really doesn’t matter, at one stage or another we will all pick up a pattern and that is when it becomes a little confusing. Since I learnt to knit, I have started to collect knitting patterns and some of those can read like double dutch. K1 P1 K1b yrn ss1 m1 etc just makes no sense to start off with but as you get going it does become clear. Honestly.
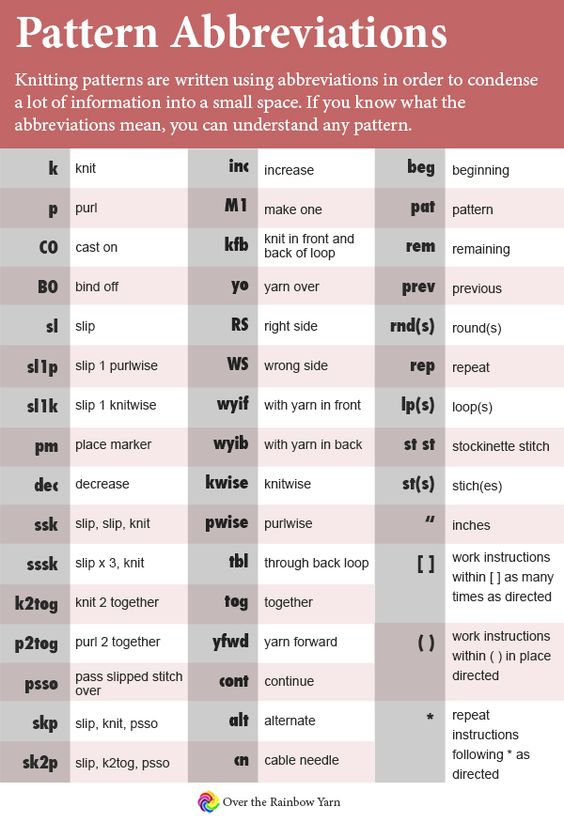
Knitting Abbreviations
Most knitting magazines and books are great though and do give you a brief stitch abbreviation at the back so you can find out what you need to do before you start. Some of the books available also give you a step by step photo guide so you can knit a few stitches step by step and practice before you get out the expensive wool out and make up your project. There are even Knitting for dummies and beginners books out there that do take you right back to the basics and I have found it is nice to refresh your knowledge from time to time. They have certainly taught me 2 new ways of casting on. Who knew there was more than one?
It sounds like I am preaching to the choir out there telling you what most of you already know, but doing a practice square for any of your projects can save a lot of ripping out, unnecessary tension (in both you and your wool/fabric) and some wasted time and material.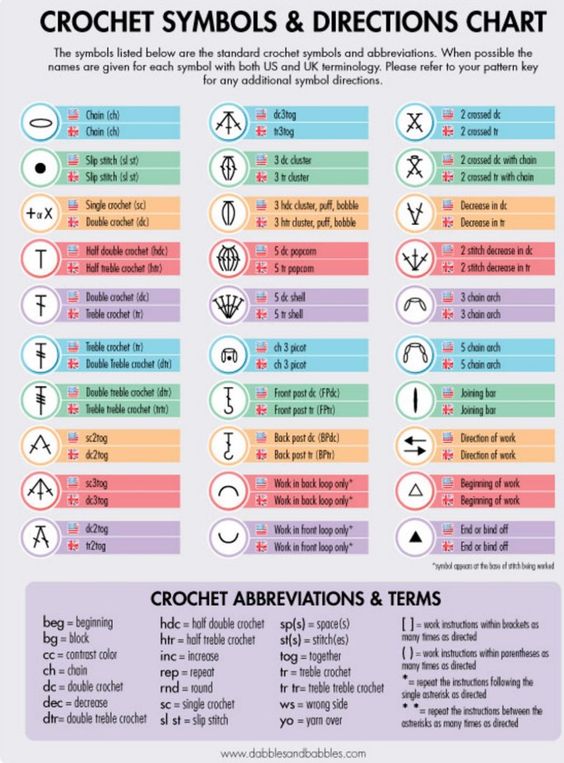
With crocheting you also have to be careful as to the origin of the pattern you decide to follow – in the UK a DC is not the same as a US DC. Projects can look very different if you are doing UK crochet and the pattern is from the US! Charlene prefers the American abbreviations but I prefer the good ole fashioned UK way – horses for courses I suppose and it depends which way you learnt to crochet in the beginning. In the chart it gives an insight into the differences in terminology along with their diagrams and you can imagine how one pattern read by 2 different people could have very different results!
Now sewing patterns don’t really have a load of different abbreviations in the same way that knitting and crocheting do, but as I said before, from just one short chat over coffee, Charlene and I came to the realisation that we have been calling the same action by 2 different terms for a long time.
Knowing your basics and doing them well will see most sewers through their projects, however, from time to time like knitting and crocheting you may want to expand your horizons and that is when an understanding of the stitches, their functions and when to use them becomes needed.
Some of the terms that you may find in sewing patterns are listed below. I have included their descriptions to help you along, but please note that these terms are how modern patterns may have them but you can change them as you need to the term that you remember or are more comfortable with.
Right side – The side of the fabric that will be seen when the garment is finished. Wrong side – The side of the fabric that will not be seen when the garment is finished. Clip – To help a curved seam sit flat, snip into the seam allowance with small scissors at regular intervals, ensuring you don’t cut into the stitching. Edge-stitch – Edge-stitching is when you stitch very close to an edge, usually with a straight stitch. Notch – Notches are small triangular marks on the seamlines of the pattern, there to help you line fabric edges together before you pin. Slip stitch – A slip stitch is a continuous hand stitch, using a single thread and is invisible from the outside. Alternate between running the needle inside the fold and then picking
up a thread or two from the main fabric. Stay-stitch – Stay-stitching is a single line of straight stitching through one layer of fabric to stabilise the fabric and prevent any stretching. It needs to be within the seam allowance so it doesn’t show. Top-stitch – Top-stitching is a visible line of stitching on the right side of a garment, usually along an edge. It adds stability but can also be used for decorative purposes. Under-stitch – Under-stitching helps a facing or lining stay inside the garment. To under-stitch a facing, after joining the facing to the outer garment, press the seam allowance
towards the facing, then stitch 2mm from the seam on the facing side, anchoring the facing to the seam allowance.
Now you are safer in the knowledge of what is what, and more importantly some of the mystique has been taken away from those funny terms and pictures, the time has come to choose your weapons – needles, hooks or pins. But that is a post for another day.
Sx

Comments are closed.